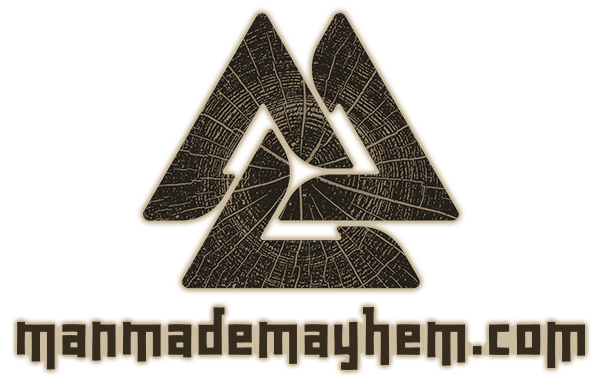
Today, I finally tried to do a Vcarved inlay. Inlays have been on my wishlist for a long time, but the idea somehow spooked me as I thought it would be a complicated process.
Subject of this test is this logo, which I got from my brother (logo of the place where he works):
This was the best quality logo I could find online, so the vector conversion wasn’t optimal, but good enough for testing purposes.
I had a Vcarve guide that really helped me, although I have to admit the process is really really straightforward. I took 2 pieces of scrap wood and just started carving. I really pushed the speed of the SO2 on this one, but I didn’t want to spend a whole afternoon on this. Total cutting time for both pieces was about 40 minutes.
I made sure all surfaces were covered in glue, and pressed the inlay in the pocket.
When the glue had set, I cut off most of the block with the compound saw, and did the rest with my planer and sander. I was a bit too eager, and took off too much material, but as this is just a proof-of-concept, I don’t really care all that much. I also noticed that the woods I used weren’t the most suitable for inlaying, so next time I’ll try denser stock with more contrast between them. This is a close-up of the result, no sawdust/glue putty used. Not bad for a first try i guess…


Is there anything special you did in v-carve to create the toolpaths? I’ve managed to do normal inlays, but not v-carved ones yet.
I followed the pdf by Paul Z that is floating around on the internet.
Pocket flat depth is 3mm
Inlay start at 1mm and a flat depth of 2mm.
I used a 3mm clearance flat endmill too.